I have another card up at Poppystamps today and I'm using gilding flakes for a metallic glow.
Stop by the blog here to see the post and all the details on how I made this card and to leave me a comment!
Happy crafting!
Showing posts with label gilding. Show all posts
Showing posts with label gilding. Show all posts
Thursday, April 16, 2020
Sunday, October 22, 2017
Simon Says Stamp Mood Board
I'm stopping by today with a card for the Simon Says Stamp Wednesday Challenge Blog and this week there's a fall mood board.
The sentiment is from the Neat and Tangled Oak Leaf stamp set and is black heat embossed on vellum and wrapped around the panel.
I couldn't resist making a leafy card for the challenge.
The panel the leaf is adhered to is embossed with a Taylored Expressions Weathered Embossing Folder. I then tapped Versamark along the edges, sprinkled on gold embossing powder and heat set.
The sentiment is from the Neat and Tangled Oak Leaf stamp set and is black heat embossed on vellum and wrapped around the panel.
I finished off by rounding two of the corners on the card base.
Thanks for visiting with me today!
Tuesday, July 28, 2015
Sparkle & Shine
I have a wedding card today for the Simon Says Stamp Sparkle and Shine Challenge.
I used the Penny Black Alluring Stencil with Cosmic Shimmer Gilding Flakes in Aurora Lights for the background. Just sponge the Cosmic Shimmer Glue through the stencil, let it get tacky and apply the Gilding Flakes on top. It's easy and elegant and I love the metallic shine!
The frame is from Paper Smooches Fancy Frames Icons and was cut from gold glitter paper.
The sentiment is from Clearly Besotted and was heat embossed with Ranger Silver Embossing Powder and I used silk ribbon to attach the frame to the background.
Thanks so much for stopping by today!
Thursday, February 19, 2015
It's A Hero Arts Hostess Hop!
Hi everyone and welcome to the Hero Arts Hostess Hop where we're featuring products from the new 2015 release.
If you have been following along, you’ve just arrived from Heather's blog.
Hero Arts will be awarding prizes from randomly drawn comments. For a chance to win, simply comment on ANY of the stops along the hop on ANY day, including each day’s starting post at the Hero Club Blog. The more comments you leave, the better your chance of winning!
If you find a broken link, you'll find a master list of the hop links at the Hero Arts Club Blog here. Also, please report broken links to: blog@heroarts.com.
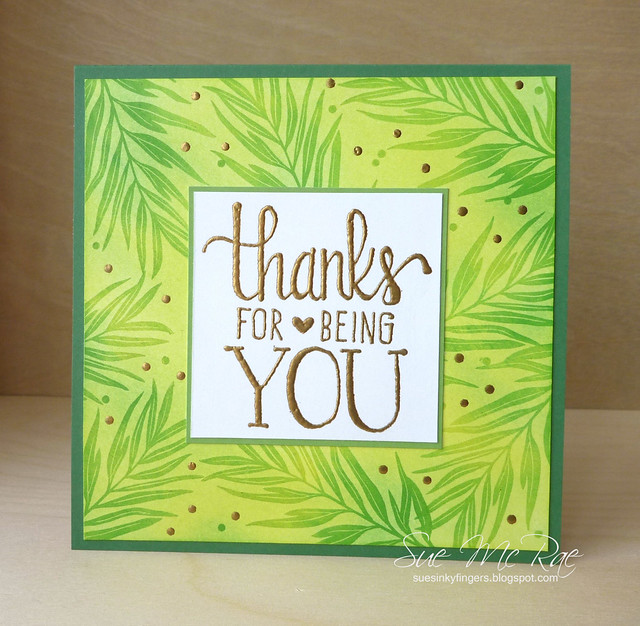
For my first card I used Hero Arts Stamp Your Own Plant set with Panpastels.
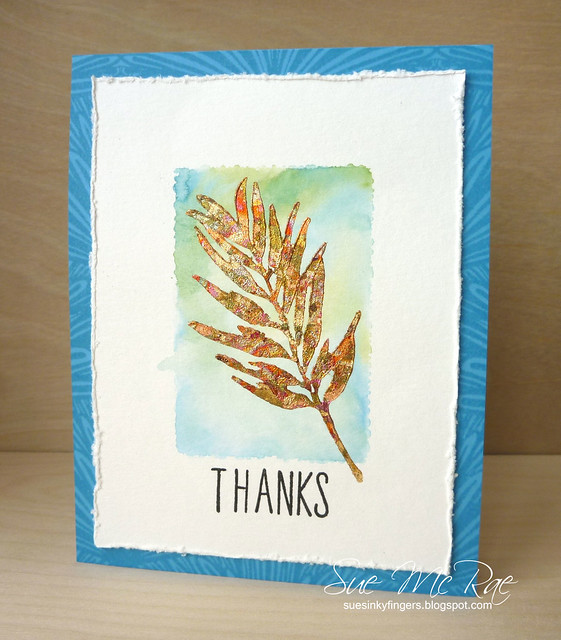
I used the same leaf image on my next card for a totally different look.
First, I scribbled some Distress Markers onto an acrylic block, sprayed it with water and stamped it on watercolour paper to make a background for the leaf.
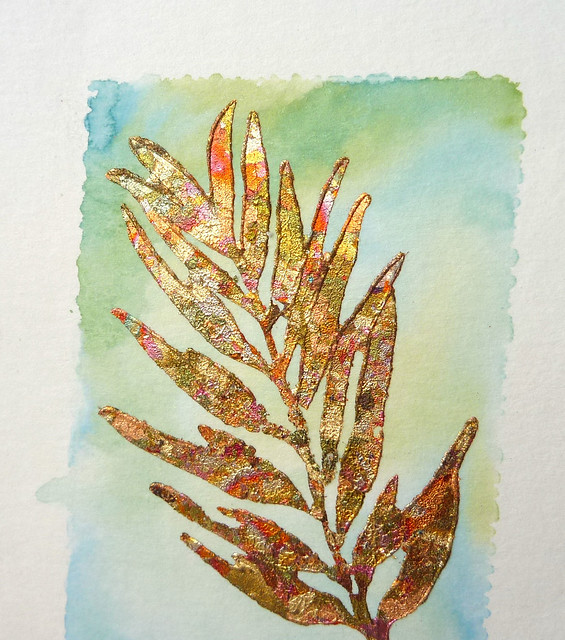
Then I applied some wet adhesive to the leaf stamp, stamped it onto the paper and covered it with gilding flakes (metal leafing).
Here's a closer look at the variegated colours from the gilding flakes.
I took alphabet letters from the Stamp & Cut Flag set to create my own sentiment and did some tone-on-tone stamping with the Tropical Background stamp on the card base.
The products I used for the gilded leaf can be found here and here. There are also a couple of videos on those pages to see how it's done.
That's it from me today. Your next stop on the Hero Arts Hostess Blog Hop is Marcy.
Thanks so much for hopping along with us today!

Hero Arts Products Used:
CL834 Stamp Your Own Plant
F6069 Thanks For Being You
PS601 Pine Layering Paper
PS622 Foliage Layering Paper
CG659 Tropical Background
DC136 Stamp & Cut Flag
AF183 Cerulean Chalk Ink
PS605 Cerulean Layering Paper
Friday, August 22, 2014
Pretty Pink Posh Blog Hop
Hi and welcome to the Pretty Pink Posh Cutting Edge Blog Hop.
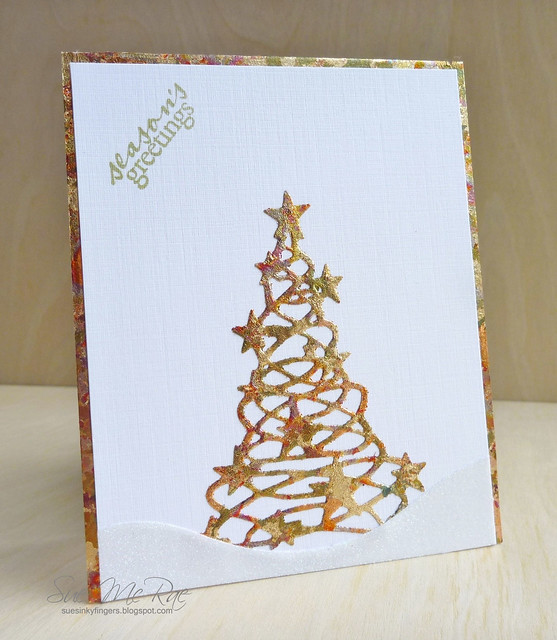
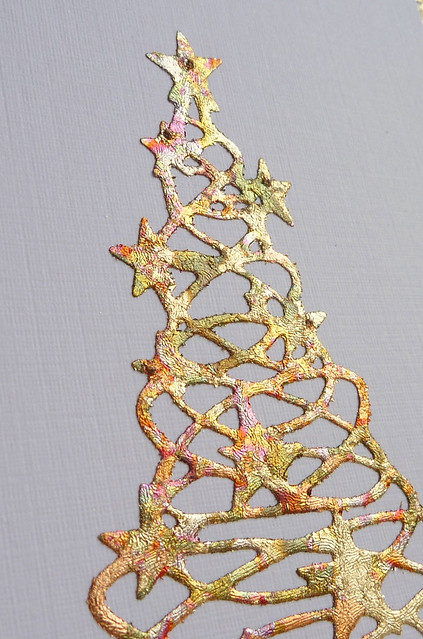
I used the flakes in Autumn Leaves along with a new funky/swirly Christmas tree die called Starlight Tree from the Frantic Stamper.
The Snowdrift from My Favorite Things was also die cut and glittered with Glitter Ritz and I edged the card base with Be Creative Tape and used some more of the gilding flakes to create a border that matched the tree.
Here's a close up so you can see all the different colours. Wonderful, isn't it? It really is a lot prettier in real life.
Thanks for visiting my blog today and thanks to Paulina for organizing this hop!
Subscribe to:
Posts (Atom)


