Showing posts with label Online Card Class. Show all posts

Thursday, June 4, 2015

Watercolouring & Masking

I have a couple of cards using watercolours and masking.  I think these will be my last two projects for the Maskerade Online Card Class, I've run out of time to create more cards.

P1270715c

The first card uses rubber cement to mask the butterflies so that some stamping and watercolour can be added to the background.

P1270738c

This card uses freezer paper as a mask.  It's such a brilliant idea and is so easy to do.

P1270760c

Using the freezer paper really helps to stretch your dies and use them in a different way.  I think this was my favorite technique from the class.

Wishing you an inky day!


Wednesday, June 3, 2015

Balloon Masking

Another card for the Maskerade Online Card Class.

Balloon Masking

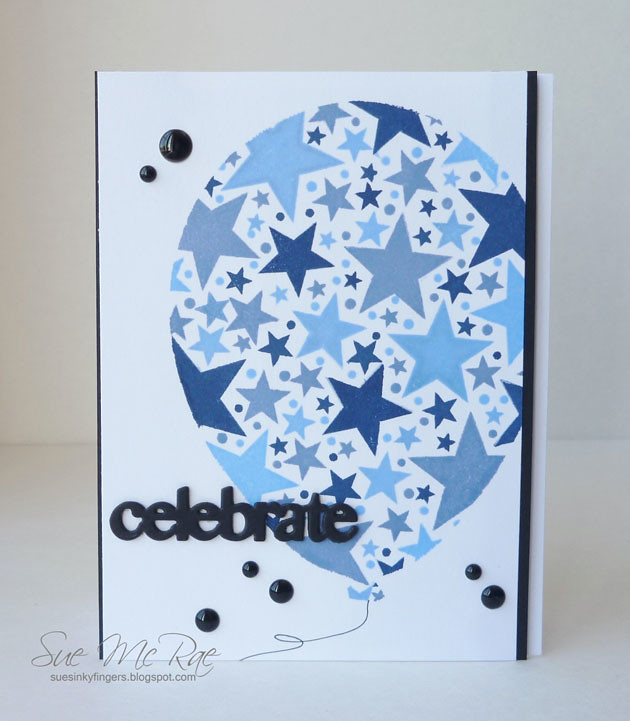
For this card I made a reverse mask from a balloon die and stamped the balloon shape full of different sized stars.

Because of the colours and simplicity, I think this would be a great card for a guy!

Thanks so much for visiting with me today!


Sunday, May 31, 2015

Masking Day 1

I'm back with another masking card for Online Card Classes, Day 1.

OCC Maskerade Day 1

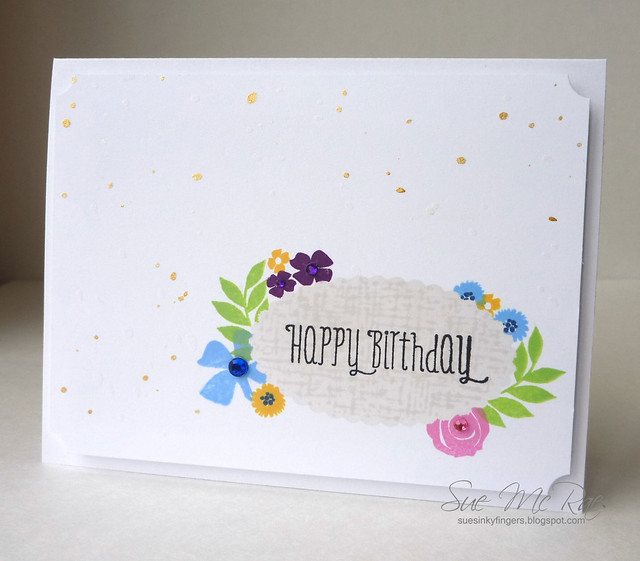
I used a scallop oval die as a mask, inked the area in grey and over-stamped with Hero Arts Envelope Liner.  The flowers are from WPlus 9 Fresh Cut Florals and More Fresh Cuts.

Thanks for stopping by!

Friday, May 29, 2015

Mask-erade

I'm taking the Mask-erade at OCC and am already behind on my homework!  Yikes!

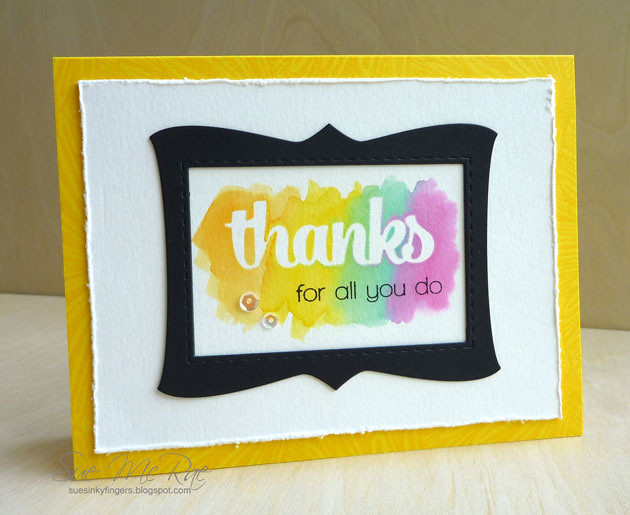
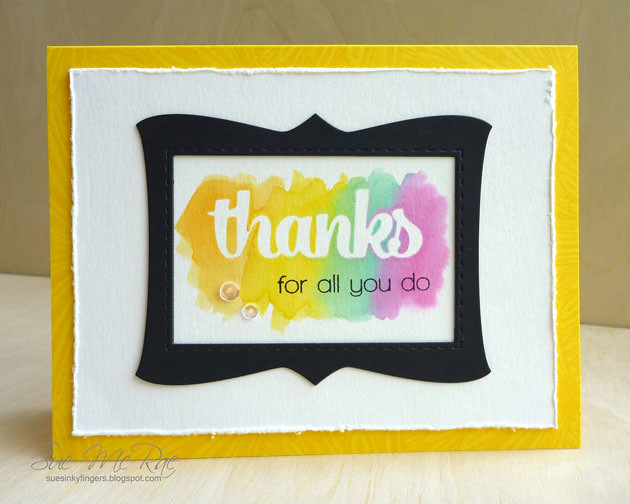
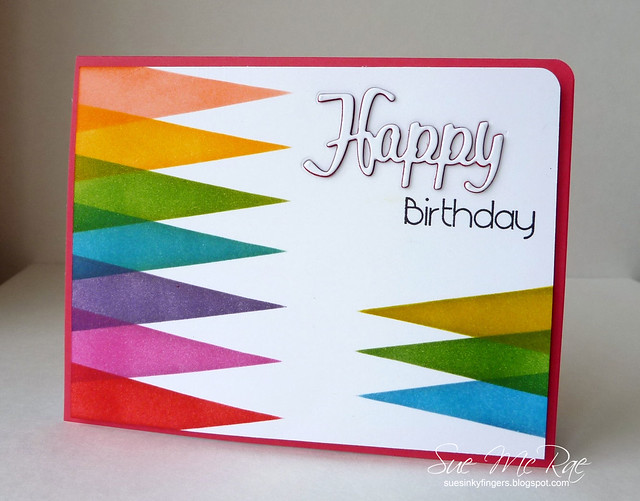
This is from Day 1 and the technique shared by Laura Bassen.  Love her rainbow cards, they always make me happy.

P1270605c

I was going to add some sequins to the card but decided the design is pretty good for a guy, so no sequins.

You can still sign up for the class.  There's tons of great inspiration and lots of crafty videos!

I'm also entering this for the rainbow Work It Wednesday Challenge at Simon Says Stamp.

Thanks for visiting!

Thursday, August 21, 2014

Graphic Stamps at Stretch Your Stamps

Day 7 & 8 at Stretch Your Stamps was to use graphic images on our cards.

The designers were using the set Rounded Diamonds by Avery Elle.  I happen to have that set and decided to play around with it.

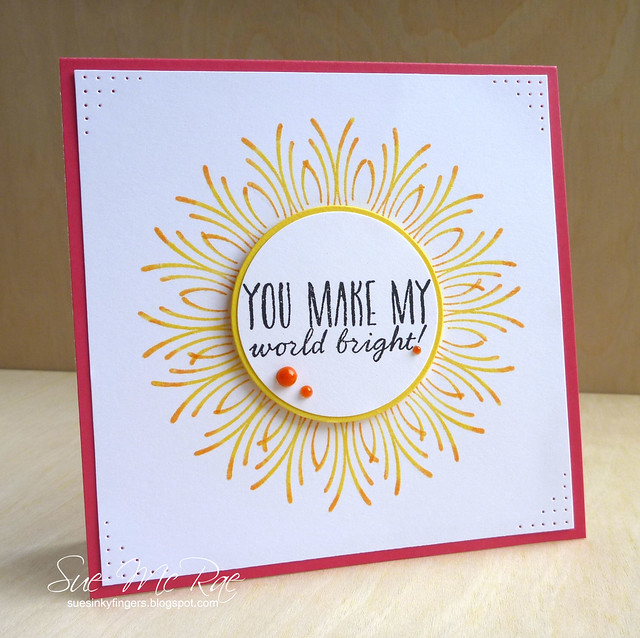
I chose the image in the middle with the thin wispy lines and came up with a medallion/sun image.

Graphic Images at Stretch Your Stamps

I used the rock n roll technique with my inking and went over some of the lines with a Wink of Stella pen to add sparkle.  I added paper piercing in the corners for some interest and finished off with a sentiment from the Hero Arts set, Written in the Stars.

Thanks for stopping by and wishing you an inky day!


Wednesday, August 20, 2014

Day 11 of Stretch Your Stamps

I'm back with a card for Day 11 of Stretch Your Stamps. Today's card is all about embossing.

Day 11 Stretch Your Stamps

The die cut shape has layers of Ranger Pearl Gold Embossing Powder (which is not this yellow in real life, it is a much softer and prettier colour) and the Hero Arts sentiment is melted into the gold with Carnival Embossing Powder (which is made up of several colours).

Stretch Your Stamps Day 11

I edged the white panel with Versamark and the Carnival EP for a bit of added interest and attached that to the wood grain embossed card base.  I didn't add embellishments of any kind because I have this card in mind for a guy, so super clean and simple.

Thanks for visiting again today!


Tuesday, August 19, 2014

Day 10 at Stretch Your Stamps

I've jumped ahead to day 10 at Stretch Your Stamps 2 and was inspired by Laurie Willison's card.  Her CAS designs always amaze me.

Stretch-Your-Stamps-2-Day-10c

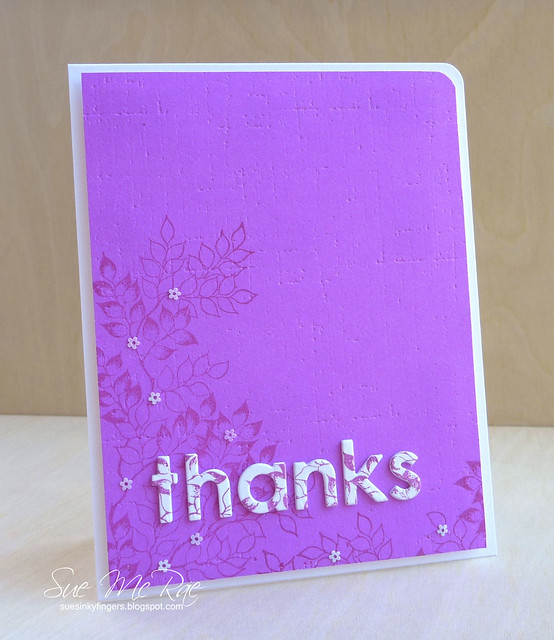
I did tone-on-tone background stamping using the Leaf Branch from Designs by Ryn and inked up the image again on white card stock for the die cut letters.  I used the Linen Embossing Plate from Papertrey Ink for some texture and added wee iridescent flower sequins for a touch of shimmer.

Thanks for visiting today!


Monday, August 18, 2014

Stretch Your Stamps - Day 6

I'm back with another card for the Stretch Your Stamps 2 class. If you've been following, you'll notice that I skipped a few lessons and jumped from day 2 to day 6.  Tee hee!  There's no reprimand from the teachers for doing that! Donna's lesson using Distress Inks and water caught my eye so I thought I would give that one a whirl.

P1230684c

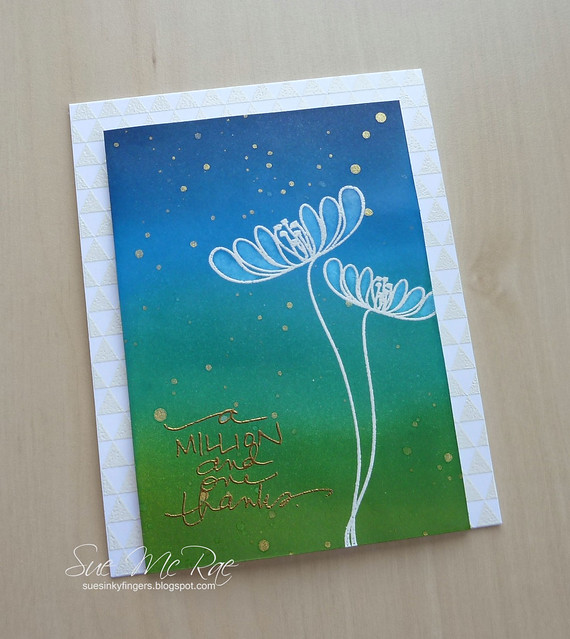
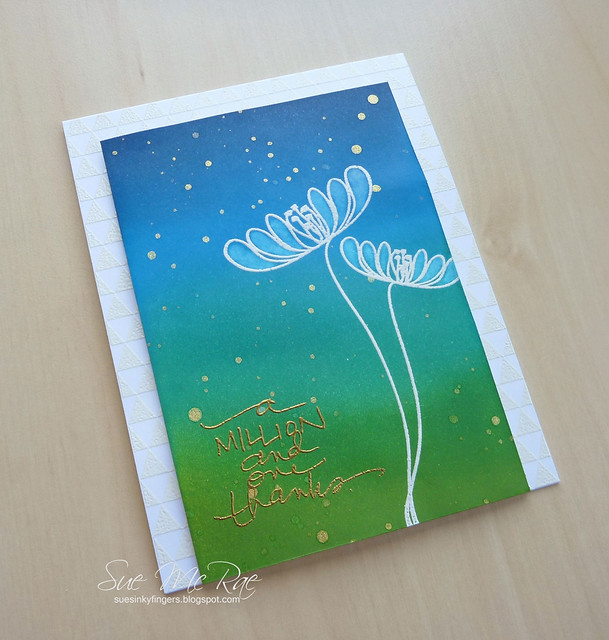
The flower image was white embossed and Distress Inks were used on the background and I used water to remove some of the colour from the flower petals.  It's very subtle but great for CAS cards.
P1230687c

The sentiment was gold embossed and I splattered some Heidi Swap Gold Color Shine over the piece. This was attached to the card front which was white embossed with Hero Arts Tiny Flags stamp.

Off to make another project.  I wonder what day will be next?  Stay tuned!


Wednesday, August 13, 2014

Day 2 - Stretch Your Stamps 2

Here's my day 2 card for Stretch Your Stamps 2.

P1230623c

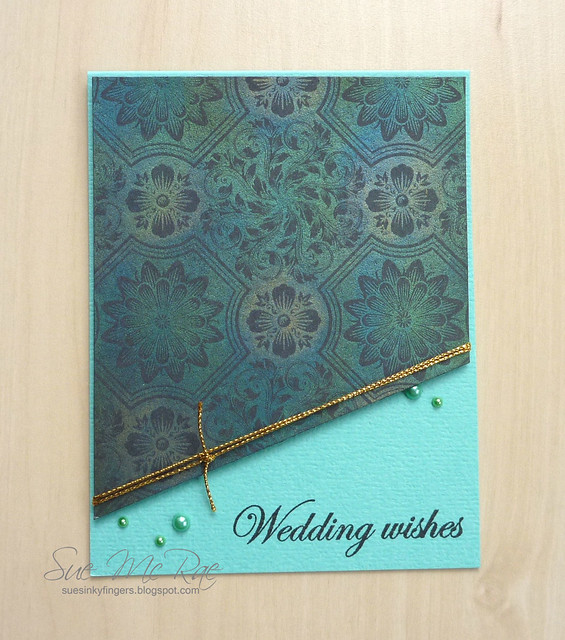
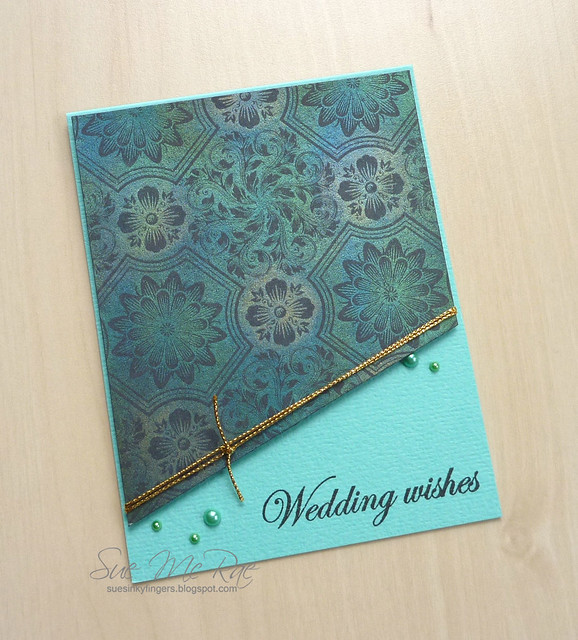
I used the Ornate Floral background stamp from Impression Obsession and applied Perfect Pearls in Forever Green, Forever Blue and Sunflower Sparkle.  The sentiment is from a set called Keep It Simple Wedding from Papertrey Ink.

P1230628c

Perfect Pearls always adds a touch of elegance to a card and really enjoy using them on wedding and anniversary cards.

My one disappointment in using Perfect Pearls is that I can never truly capture just how shimmery and pretty the colours are in my photos.  The card looks so much better in real life : )

Thanks for visiting!


Stretch Your Stamps - Day 1

I'm finally able to play along with the Stretch Your Stamps 2 Online Class.  I'm a little behind on my homework but hopefully I'll be able to make a few cards before the gallery closes.

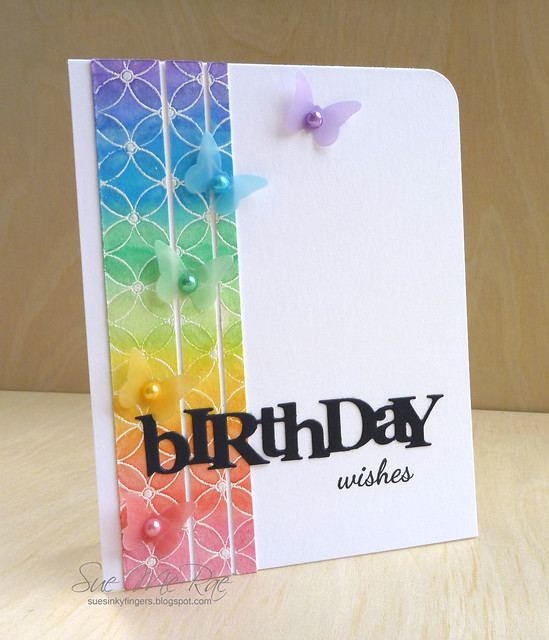
I white embossed Hero Arts Looped Flower onto watercolour paper and gave a rainbow wash of colour with my watercolour paints.  I used the Wink of Stella pen in clear to add sparkle to the flower petals and cut down the piece into three strips.

P1230544c

I wanted to have butterflies that matched and blended in with the watercolour background so I took out my Copics and used them on some vellum and die cut a rainbow of butterflies.  I also used the same Copics to colour white pearls so that everything matched.

The birthday die is from Papertrey Ink, called Wonderful Words Birthday.

Thanks for stopping by today!

Sunday, February 2, 2014

Embossed Embossing

This is my last card for the Stenciled Online Card Class and I'm using the technique of heat embossing the stencil embossing paste.

P1210766c

I used a Turquoise Tapestry Embossing Powder that has little flecks of gold and black in it along with a fun brass stencil called Organic Texture.

The photo doesn't capture the raised embossing very well, but it's so cool in person.

Thanks for dropping by today!


Friday, January 31, 2014

Scribbled Butterflies

One more card for the Stenciled Online Card Class.
Scribbled Butterflies

Kristina's scribbled hearts card in class looked so cool so I adapted the technique for my card with butterflies and by using two colours on each butterfly instead of just one.  It's a simple and fun technique and would be great to do with kids.

Off to make another card for class. Thanks for dropping by!


Thursday, January 30, 2014

Stenciled Heart

I'm back with another card for the Stenciled Class.  I'm behind on my "homework" but I am having fun playing catch-up.
Stenciled Heart

For this card I created a stencil from Impression Obsession's Heart of Hearts Die by running it through my Vagabond with some transparency film.  It's another great way to get more mileage from your dies.

I used the stencil to clear emboss the heart and added Distress Inks ontop.  With a little water flicking (ok, maybe a lot) and some distressing to the edges, my card was done.

I'm also entering this in Simon Says Anything Goes with Twine or String Challenge.

Simon Says Stamp Wednesday Challenge Blog


Thanks for stopping by today!

Monday, January 27, 2014

Stenciled

Still working on Day 1 cards from the Stenciled Online Card Class.  I'm a little behind but am glad this class gives more time to work on my cards.

Stenciled Card Class Day 1

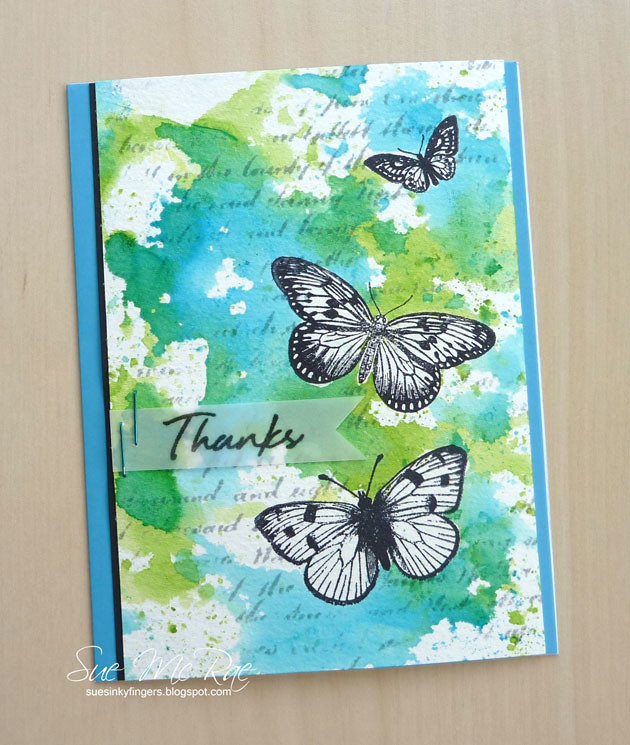
I used sprays for this card and actually only own two sprays, both by Dylusions in London Blue and Fresh Lime.  I love how the colours combined on this totally fun card.

Thanks for stopping by and visiting!

Sunday, January 26, 2014

Stenciled Class Day 1

Quickie post for my card for the Online Card Classes, Stenciled.  There's so many great tips and videos and you can still sign up for the class here.

I don't have a lot of stencils but I love this fun circle one.  I made a stencil using a design from the Silhouette store and cut it on my Silhouette Cameo.  This one is called Bubbles Mask #42010.

Thanks for visiting today, I appreciate every wonderful comment you leave!