Showing posts with label Memory Box. Show all posts

Wednesday, January 12, 2022

Sending Rainbow Love


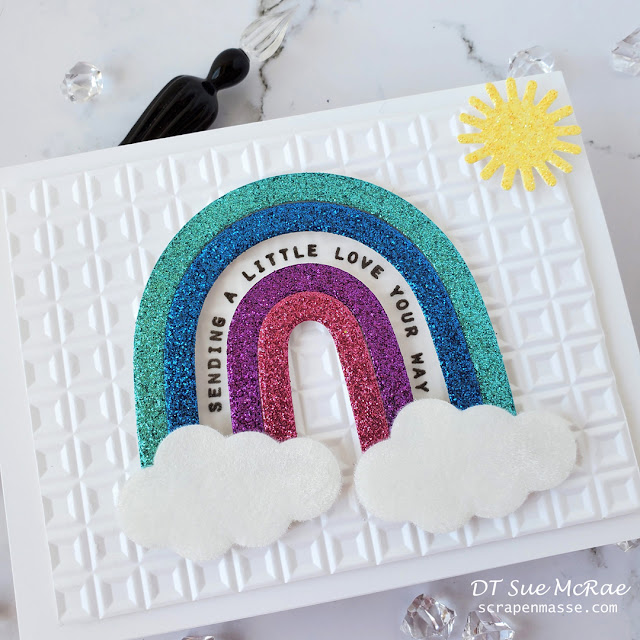
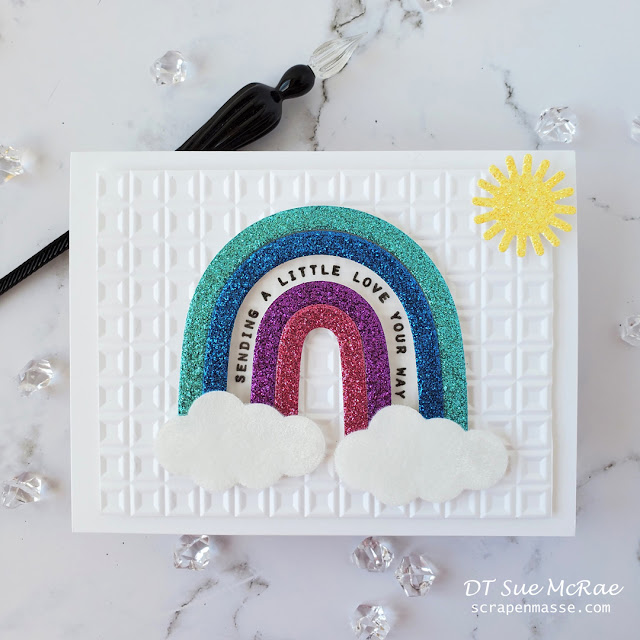
Hello everyone! I have a sparkly rainbow card today using @heroarts and @memoryboxco products from scrapenmasse.com!

I used the Hero Arts Rainbow Heroscape Stamp Set and Rainbow Infinity Dies. Such a versatile duo of products for making rainbow cards for any occasion. I love that there are sentiments in this set that are curved and fit perfectly in the rainbow arch.


I die cut 4 rainbow pieces from glitter card stock. I stamped and heat embossed the sentiment on vellum and inserted it into my rainbow. For the clouds I covered some paper with double sided adhesive, die cut it, exposed the sticky side of the adhesive and covered it with flock. It adds a nice fuzzy texture to the clouds.

I mounted all my elements on a panel that was embossed with the Geometric Crystals Embossing Folder. This geometric pattern is a good for many card designs and adds some great texture.


Thanks for stopping by!


Sunday, June 14, 2015

Wildflower Garden

Reading Garden Dedication

Hi everyone!  Today I'm sharing a project I created for the library in the village where I live.

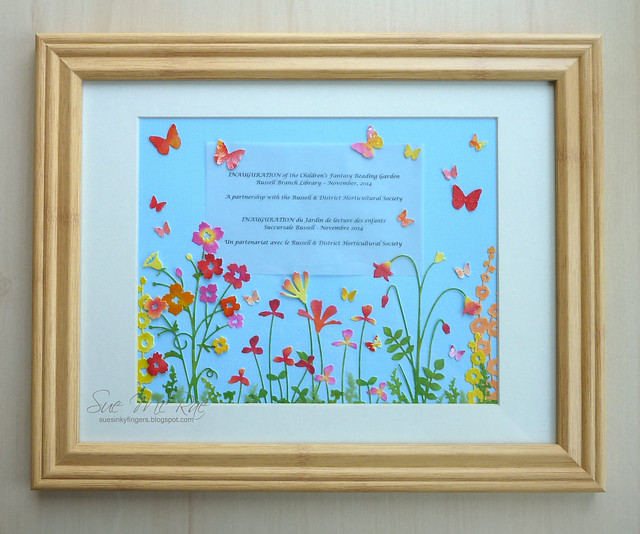
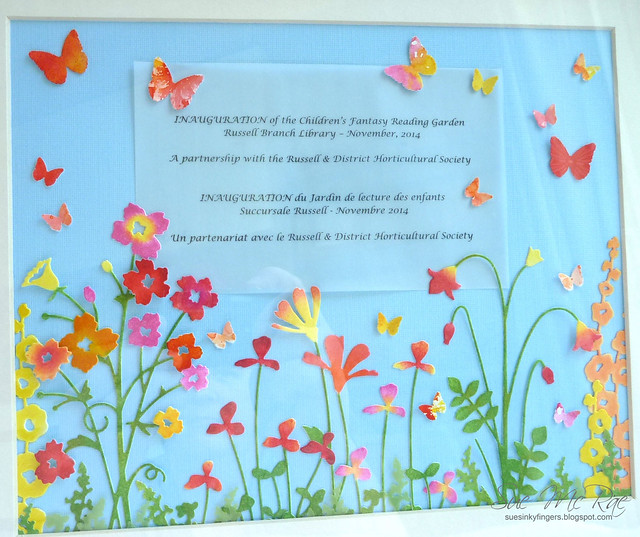
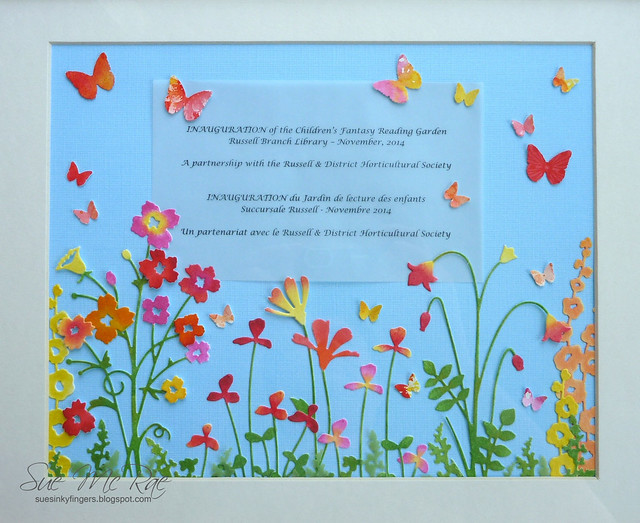
I was asked to make a piece of wall art to commemorate the opening of the Children's Fantasy Reading Garden that is located right outside the library.

Dedication for Reading Garden

I pondered for quite some time about what to do.  Should I do stamping or die cutting or some combination of the two but in the end I went with die cutting so there would be depth and dimension to the project.

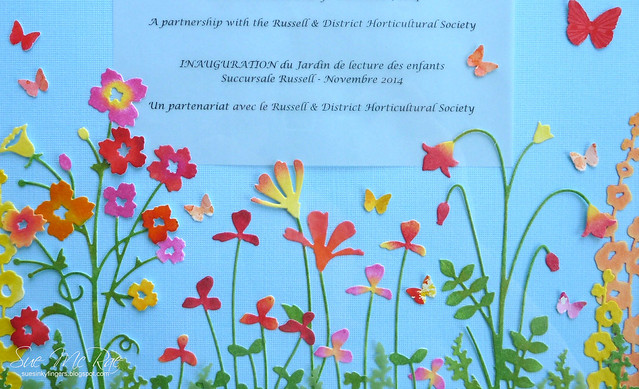
Reading Garden Closeup


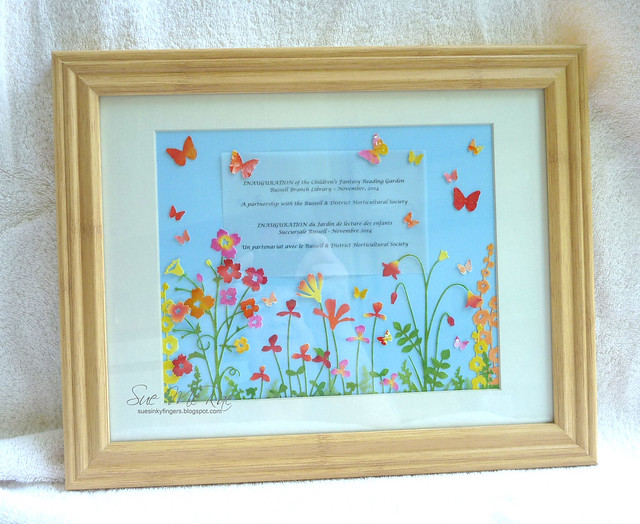
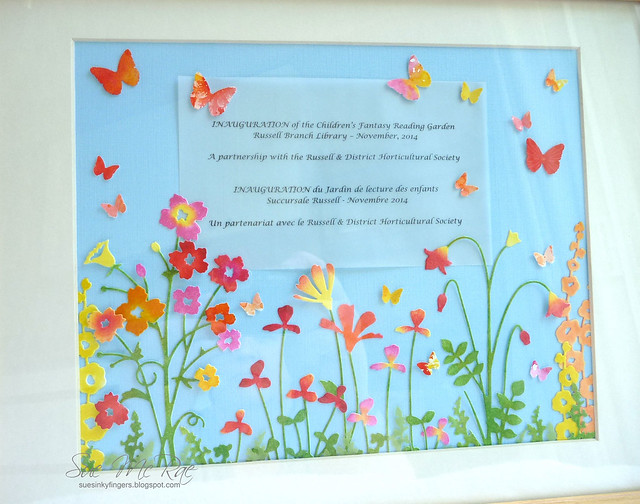
I combined dies from quite a few companies to create a colourful wildflower garden with some fluttering butterflies thrown in for good measure.

Library Reading Garden

All the flowers were die cut from white card stock and coloured with Distress Inks and then sprayed with Perfect Pearls for a lovely shimmer.

Library Project Super Closeup

I layered some extra greenery along the bottom edge and that was die cut from vellum.

Most of the butterflies are watercoloured and some have stamping on them.

Garden Closeup

The dedication piece was computer printed onto vellum so that it would be light and airy.

It was interesting to work on such a large piece (11" x 14") compared to the usual A2 card size. There's just so much space to fill!   I definitely prefer the smaller size of the cards!

Thanks for stopping by to check out my project and I truly appreciate all the comments you leave me!


Poppystamps: Fritillaria Bouquet, Meadow Clover
Memory Box: Bella Bouquet
Simon Says Stamp: Fresh Daisies
Impression Obsession: Hollyhocks
Joy Crafts: Cutting Flowers
Martha Stewart: Butterfly Punch

Tuesday, December 2, 2014

Poppystamps & Memory Box Blog Hop

Thanks for hopping along with Poppystamps and Memory Box today. You should be arriving from Sherry's blog. If not, you can start at the beginning here.

The hop takes place from Dec 2-4 and will include daily prizes from Birch Press Design, a company created by Dave, the owner of Memory Box and Poppystamps.  Comment along the way (you have until Dec. 10th) for your chance to win the prize.

We're showcasing tags and treat wrappers for the holidays and I have 3 projects to share today.

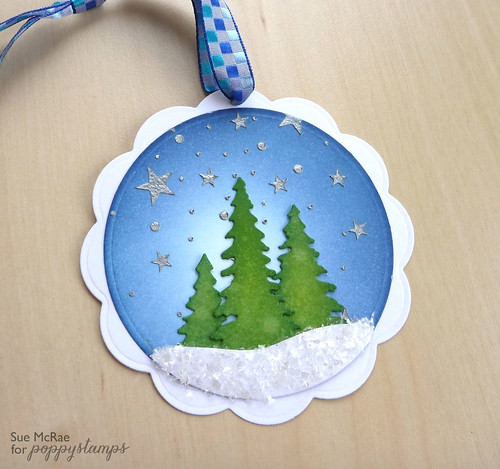
First up is a tag full of inky goodness and some sparkle.

Sue McRae PS MB Hop Tag

I used Distress Inks to colour Poppystamps Evergreen Trees and sprayed them with Perfect Pearls for a bit of shimmer.  The sky was also inked with Distress Inks and I used silver embossing paste to add stars and dots with the Memory Box Star Dust Stencil.  For the sparkle I added chunky glitter flakes for my snow bank.

Sue McRae PS MB Hop Tag Closeup

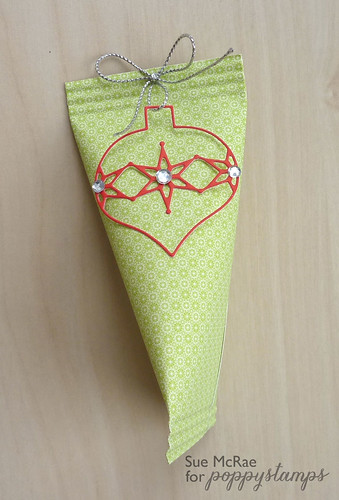
Next up are two treat containers that are very quick and easy to make.  You can fill them with any kind of goodies and use them as stocking stuffers or they would be great to leave on place settings at a Christmas or New Years dinner table.

Sue McRae PS MB Hop Ornament Treat

I used Memory Box patterned paper to make these and added die cuts as embellishments.

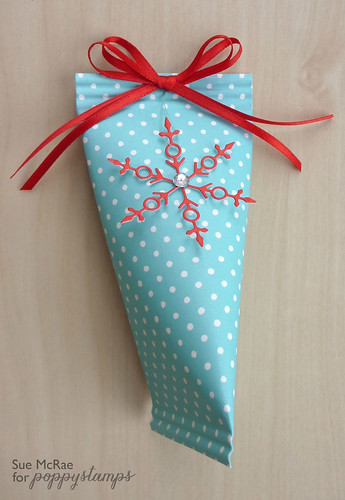
Sue McRae PS MB Hop Snowflake Treat


The great thing about these containers (or sour cream containers as they are sometimes called) is you can make them any size, depending on what you want to put in them.  You are only limited but the size of your paper.

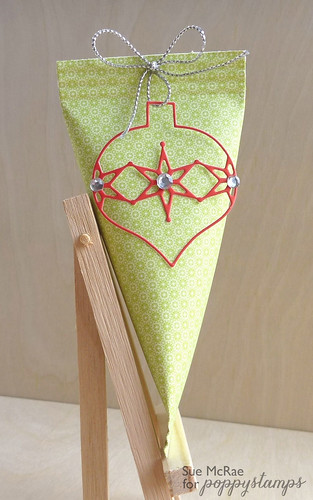
Poppystamps Avondale Ornament was used for this container.  With a few gems and some silver twine it was quick to put together.

Sue McRae PS MB Hop Treat with Ornament

I used a paper crimper to finish off the ends of the containers and embellished this one with the dainty Stravia Snowflake and red ribbon.

Sue McRae PS MB Hop Treat with Snowflake

These were hard to photograph so I'm sorry for the weird angles and props that I used.  For info on how to make these treat boxes please visit here.

Your next stop on the hop is Bibiana.  Make sure to leave comments along the way for a chance to win a prize.  For a second chance at a prize, like Birch Press Design on Facebook here and share the post about the hop.  One person who does both will win a prize from Birch Press Design.

Here's a list for today's blog hop.


Have fun!


Saturday, March 16, 2013

Spring Palette


When I saw this colour palette up on Ranger's website I knew I had to play along.  These colours make me think of  spring and Easter and Mother's Day.  Oh how I wish spring was just around the corner, but we still have about 18 inches of snow on the ground and that doesn't count the height of the big snow banks.

So while I wait for spring to show up I will just be getting inky with some spring colours.
Mother's Day Bouquet

It was fun to break out my Distress Inks and Stains for this project, it feels like I haven't used them in a while.  I also used my new Memory Box Die.  Love this pretty bouquet, especially with Rock Candy Stickles on the petals.  I'd forgotten how pretty the sugar-like texture of the Stickles is.
Mother's Day Close-up

Thanks for visiting today and have a happy weekend!


Saturday, October 20, 2012

Boo!


This is my first submission over at the CASology blog where each week a new word is chosen to inspire us to create a project.  This weeks word is NIGHT.
P1120411
This card makes me think of peeking out into the night sky from behind some trees, never knowing what might be lurking in the darkness.

For my background I swiped various colours of Distress Inks on glossy cardstock to create a night sky and added layers of the leaf stamp and I couldn't resist adding some googly eyes to the Boo.

I also entering this over at Simon Says for Joy's Eerie Inspiration Board.


Wishing you an inky weekend!